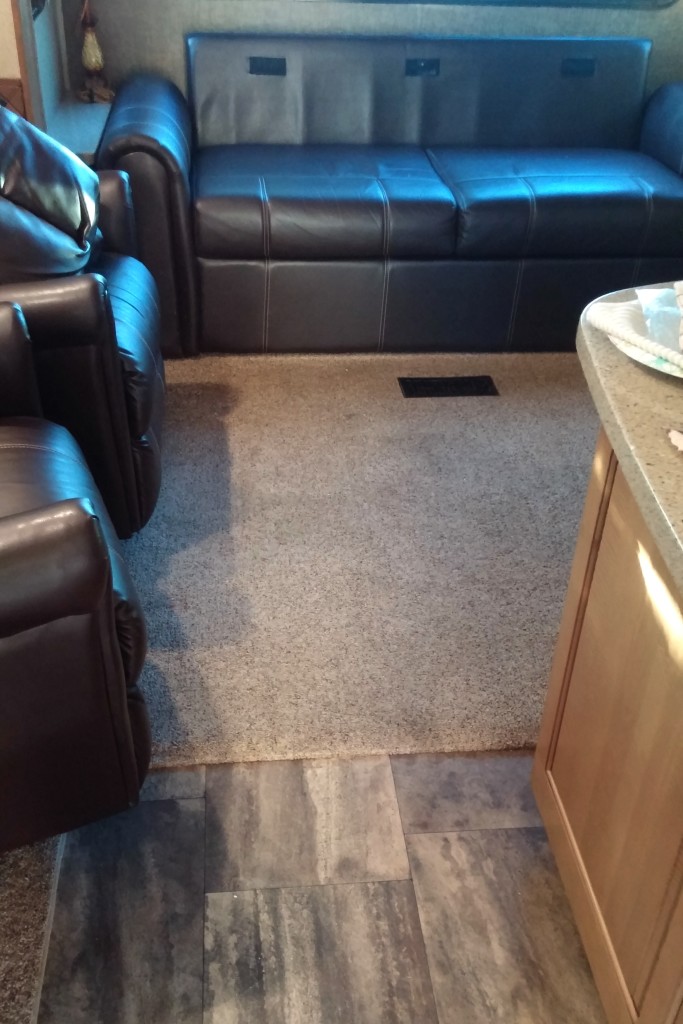
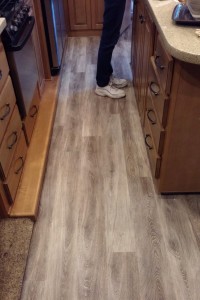
So we decided to replace the flooring in the lower level. Jett would have liked to have replaced the upper level (bedroom/bath) flooring as well, but that meant devising some way to cover the edge of the steps and no good option was available (we know because we asked a flooring expert). We did, however, ask the flooring guy to stretch and tack down the carpet in the bedroom as it was beginning to ripple. Why? Because RVs are built with the flooring in place when the walls are attached, so the walls are built on top of the flooring. The assumption – not a particularly good one – is that the walls will keep the carpet from rippling.
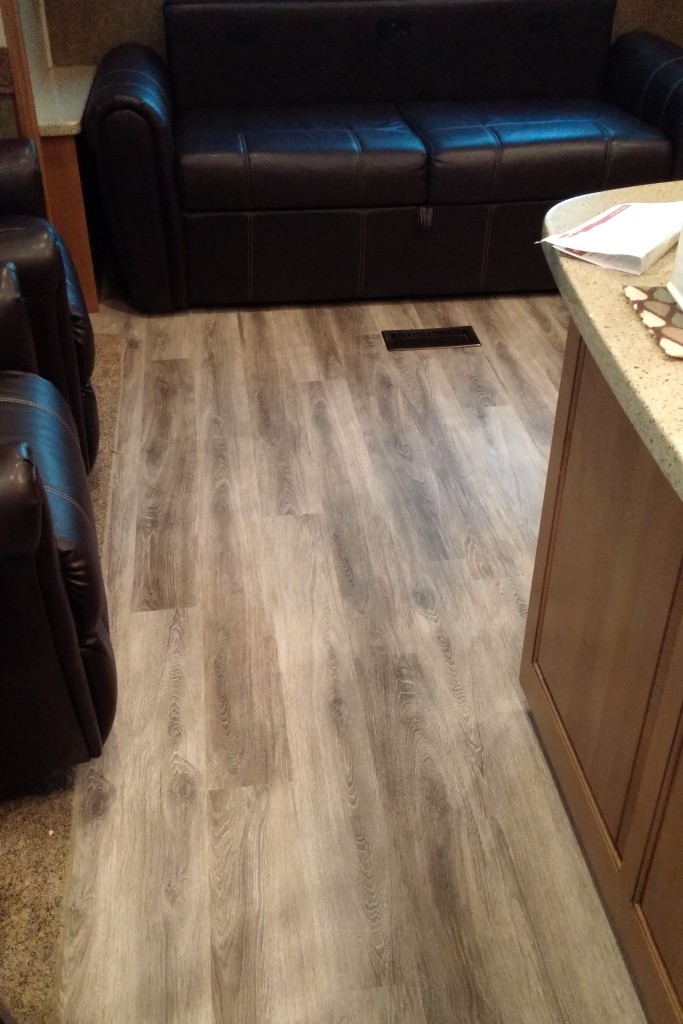
We had a lot of choices for the new flooring. We could have gone with linoleum, like the existing flooring, or real wood. But the wood option was risky (it had to be thin enough to let the slides ride over it) and we didn’t much care for vinyl – especially since it would have been impossible to install it as a single piece with no cuts. So we opted for a durable fake wood plank flooring that, we are told, will be very durable and very washable. Then it was a matter of choosing a color. We opted for a planks that look gray in sunlight but show more of a light oak color in artificial light.
I wasn’t sure I was going to like the change. Being a guy, living with dirty carpeting bothered me less than it bothered Jett. And as it was being installed I continued to be unsure as it looked too gray. But once completed, I liked it very much. The RV now has a brighter and definitely much cleaner feel to it.
We followed up the flooring installation with a cleaning of the remaining carpeting, specifically targeting the stains on the bedroom carpet. So we now have some very clean flooring.
For a few days.


