

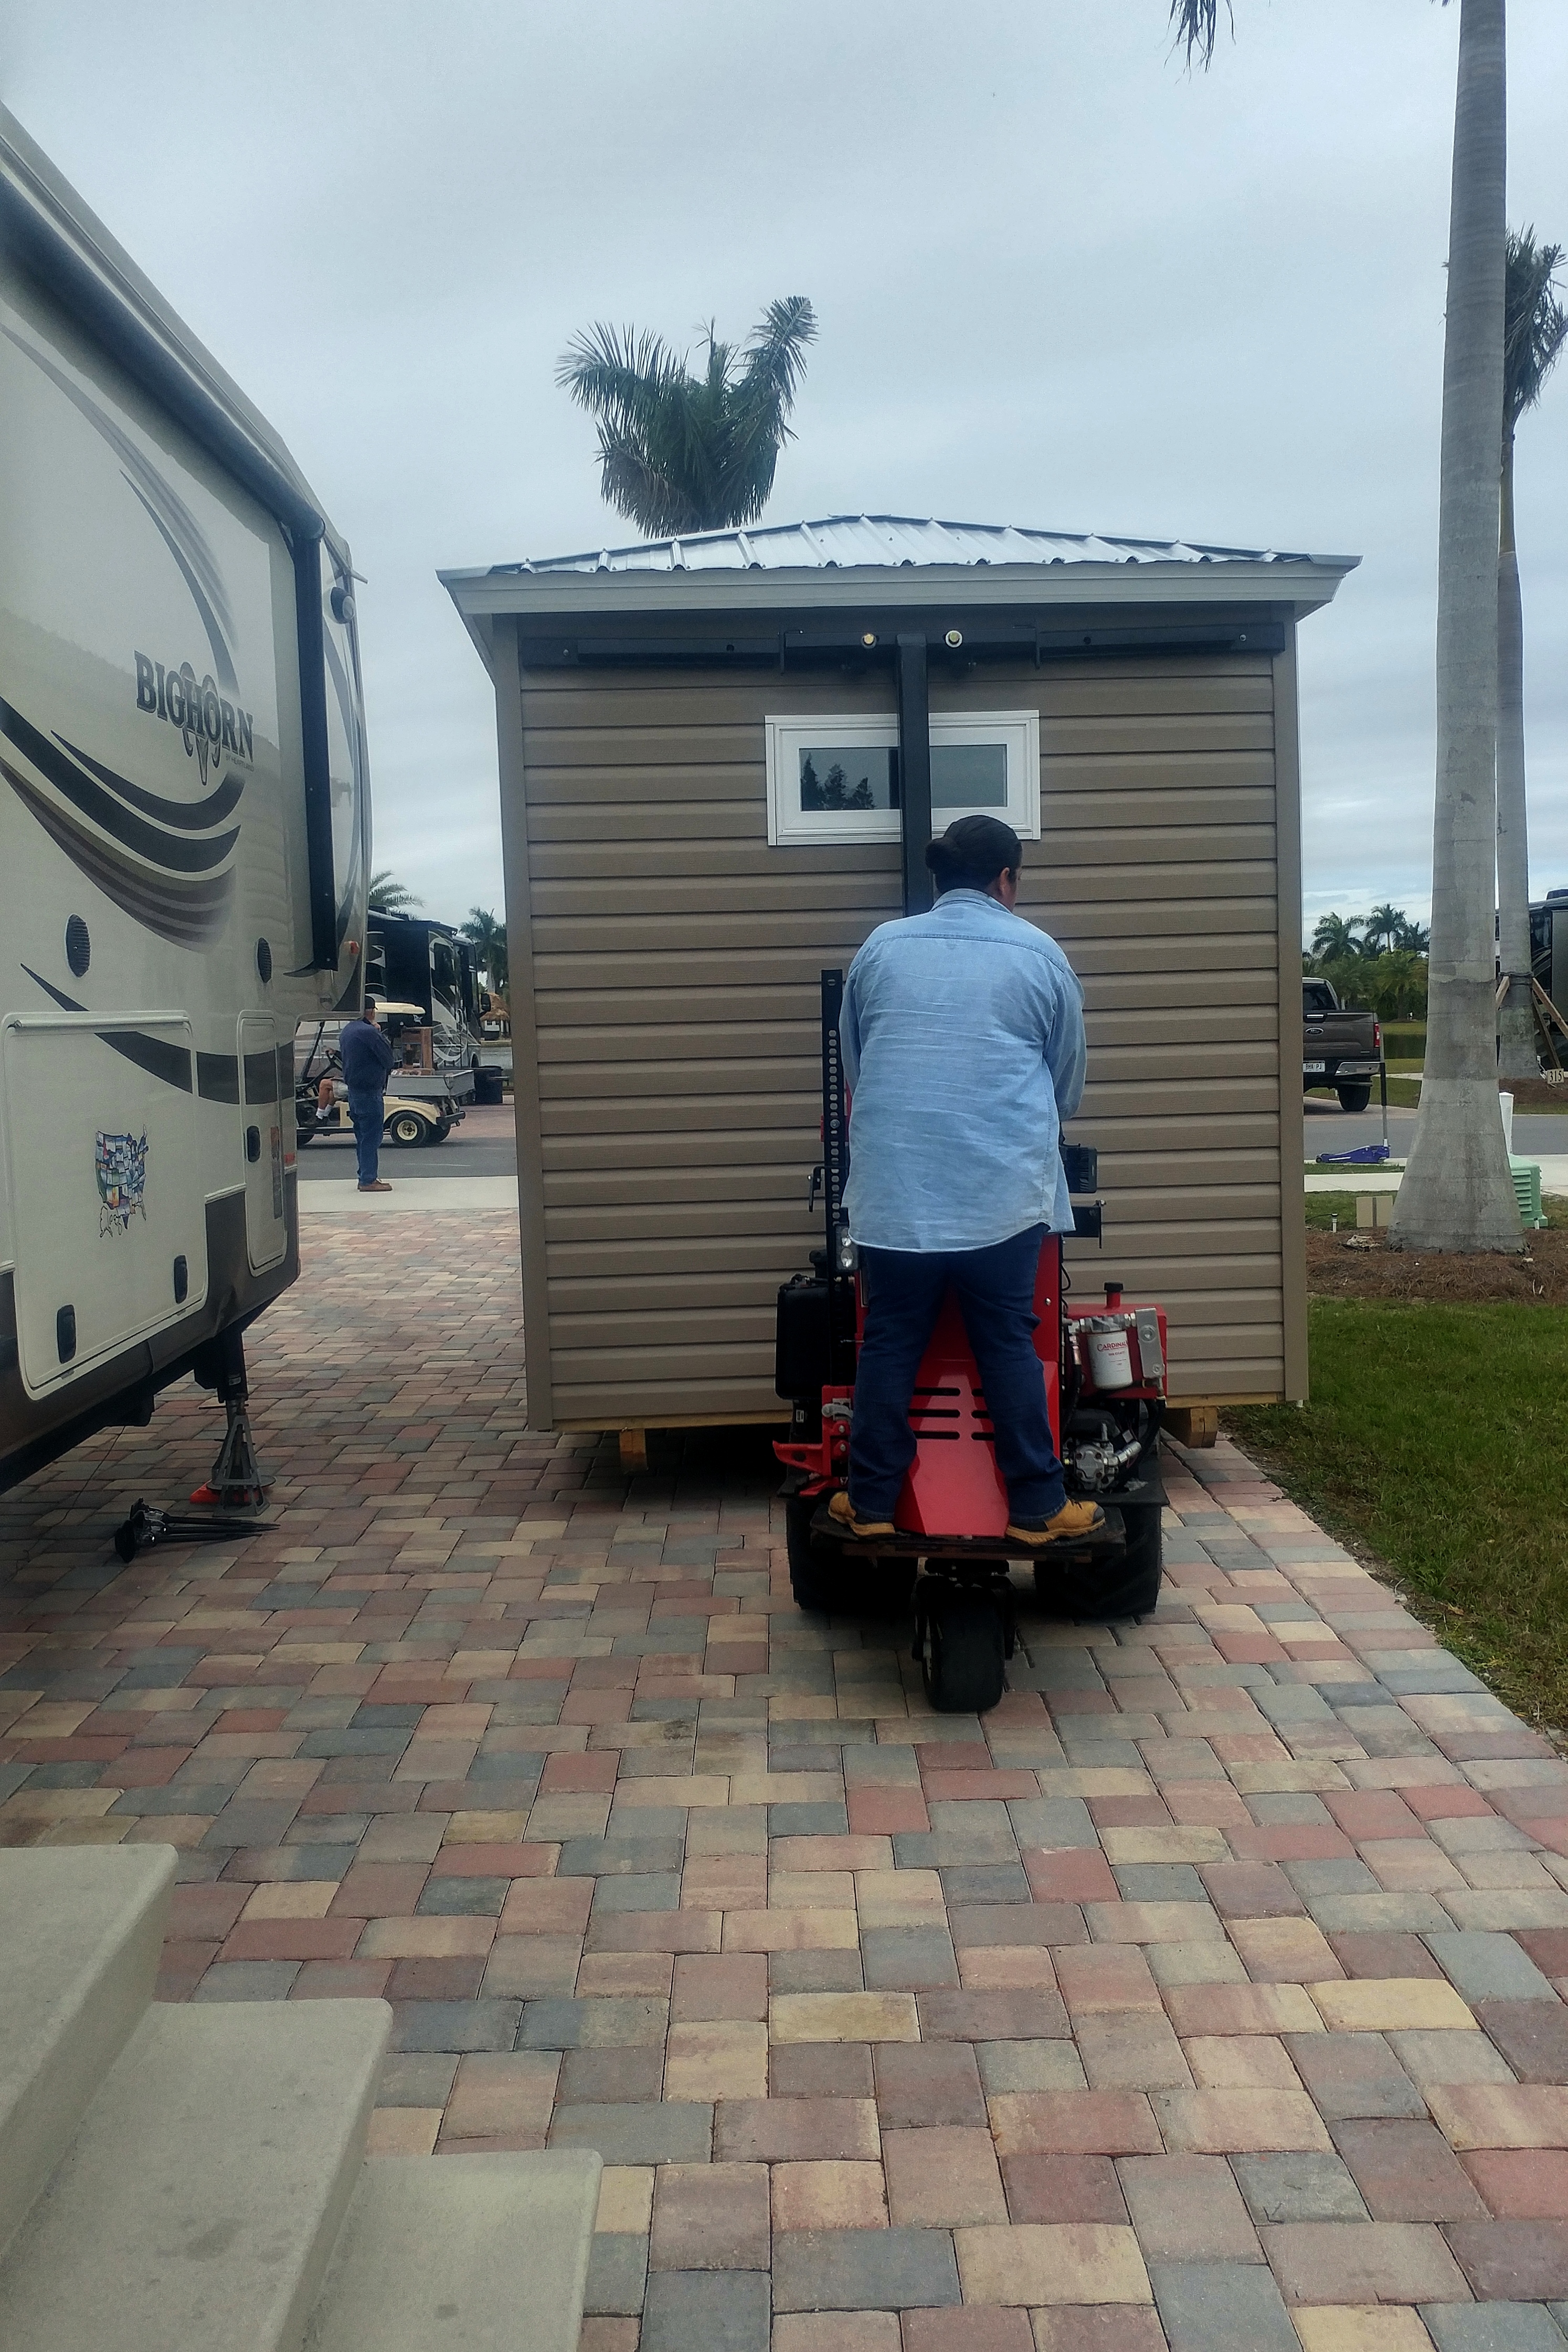
Getting the shed situated
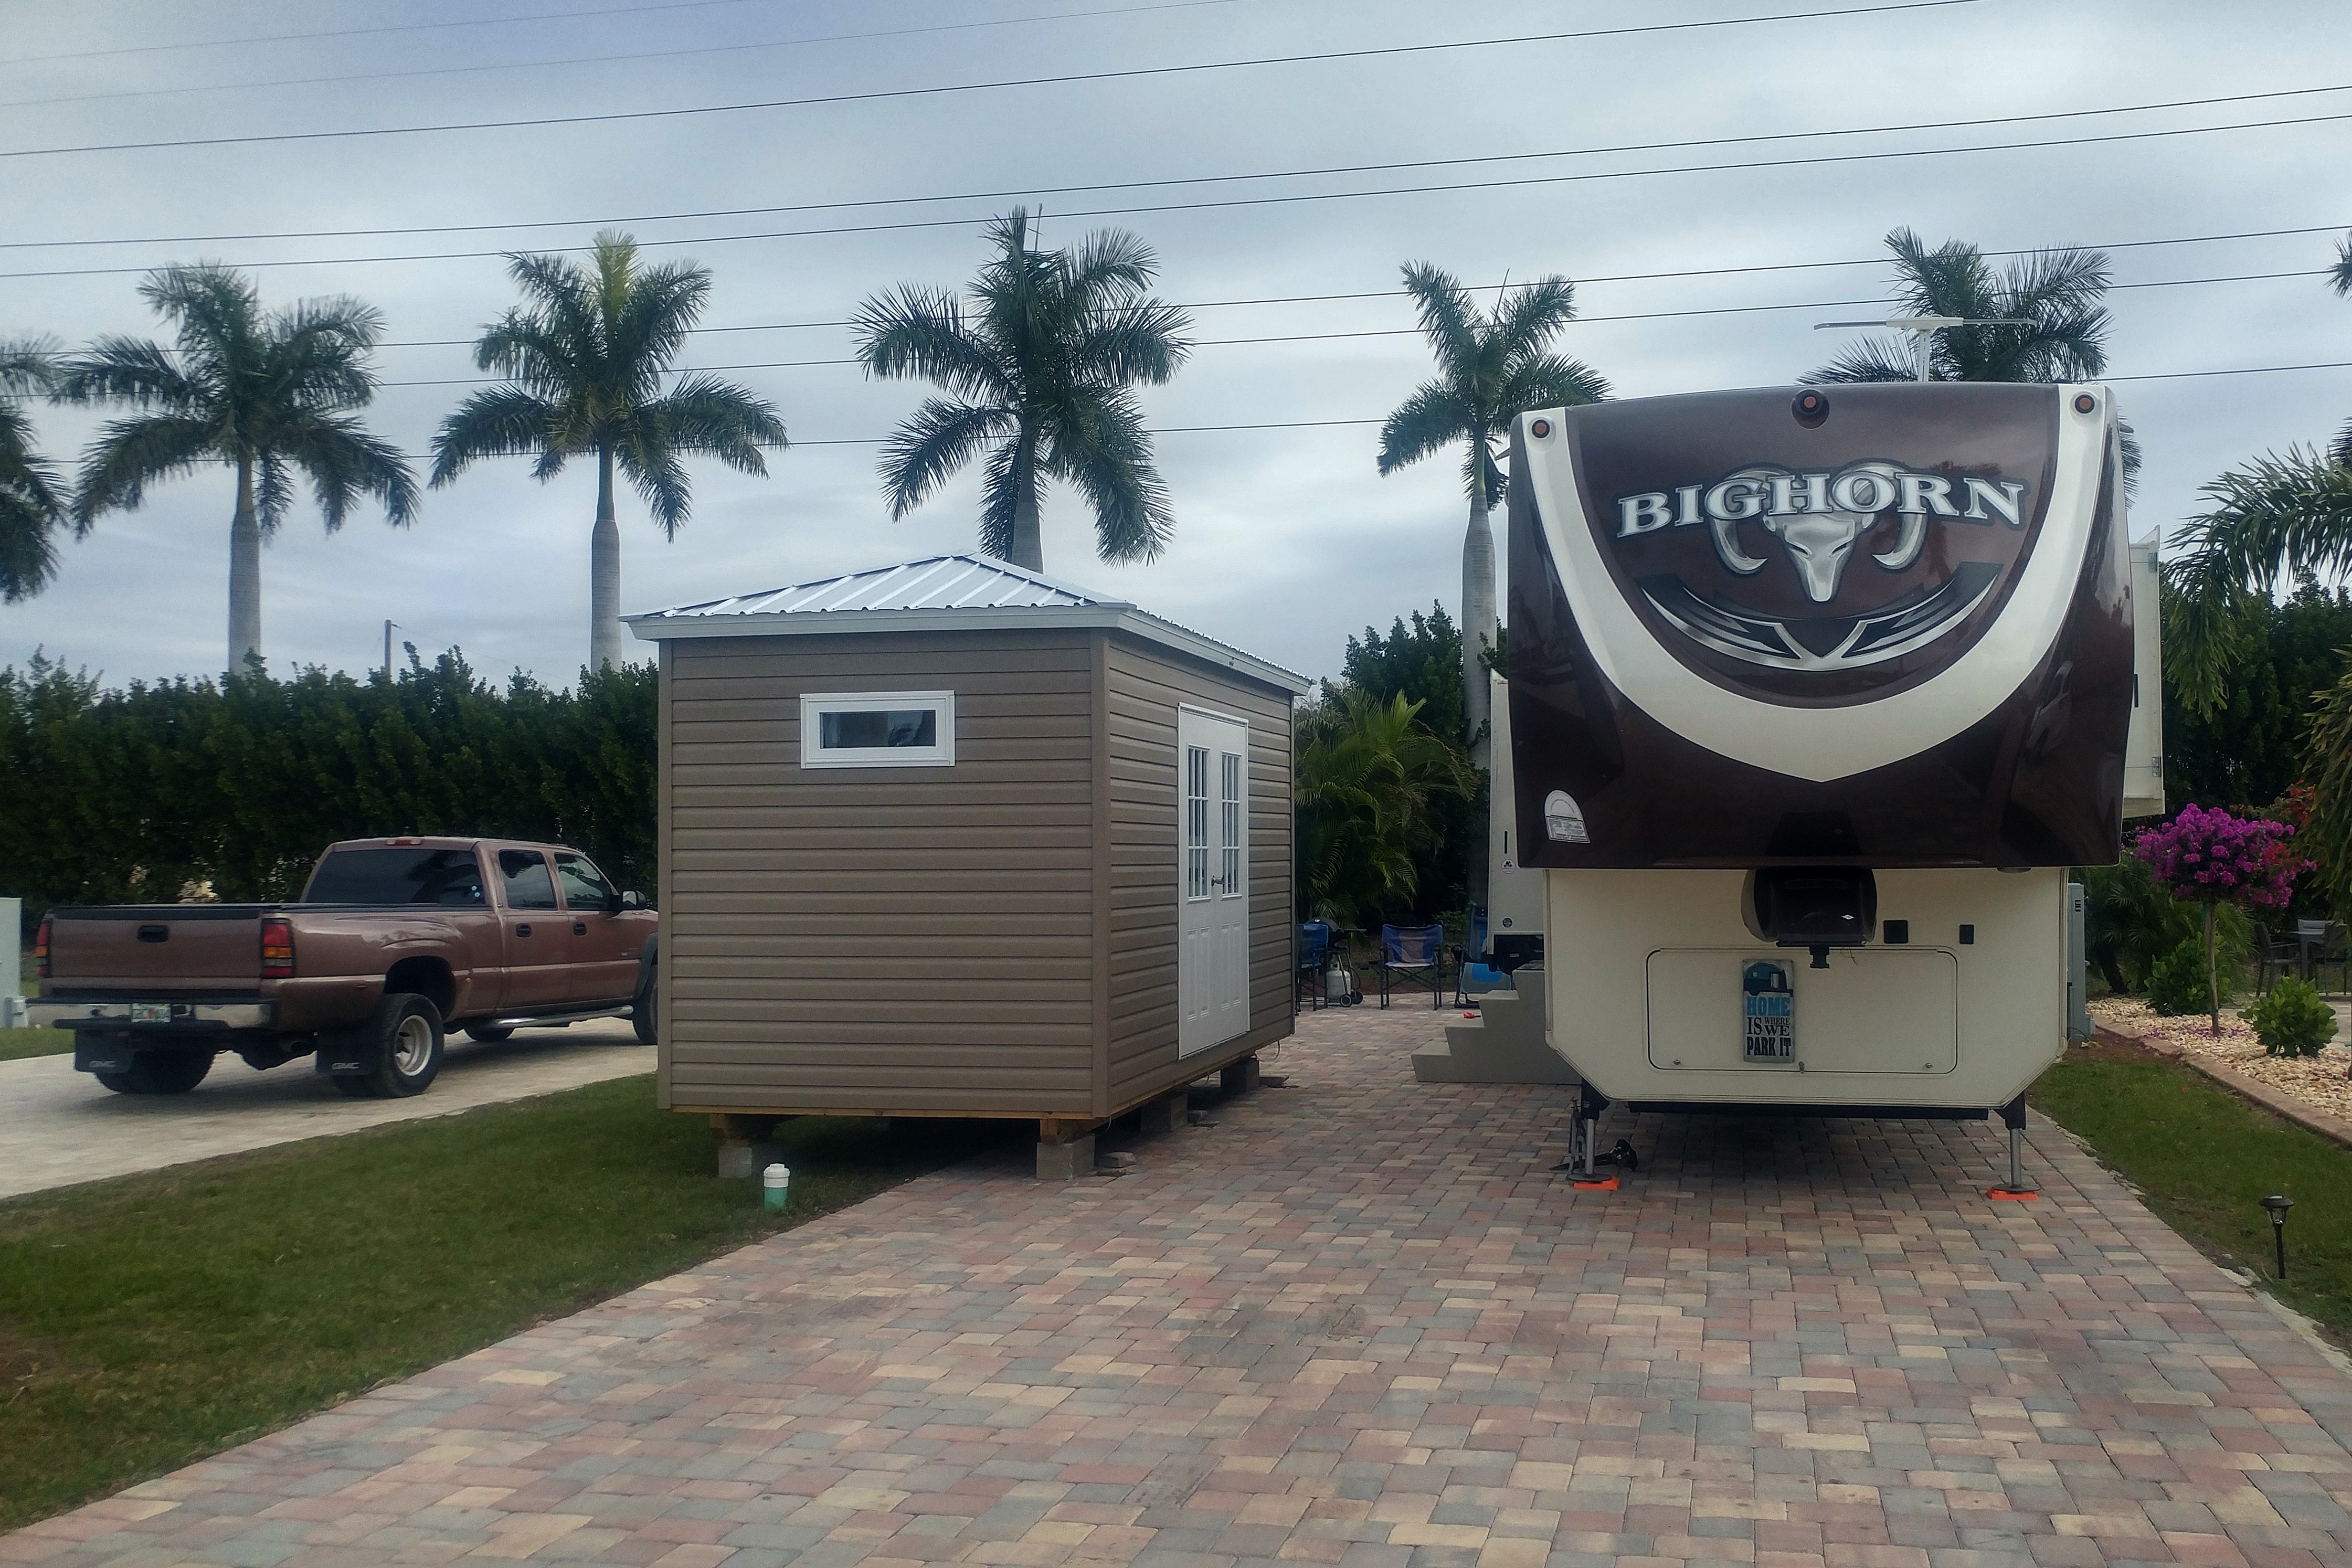
Before tying it down
The day after we acquired our fiberglass steps, our shed was delivered. Getting it onto the site was a bit of an adventure which started with me having second thoughts about the precise location. The proposed location had been approved via a drawing on the site plan, but the problem was that the site plan contained no reference marks. A clear rule, though, was that the 5-foot setback had to be observed at all times. While the setback on the south side was pretty clear – the gap between my pavers and my southern neighbor was precisely 10 feet – the northern setback was not clear at all. The gap between my neighbor’s pavers and the outer edge of my pavers was only about 9 feet. I believe that the developer, when he installed my paver bump-out, cheated a bit on the setback. I had already compensated a bit, but it appeared that the back side of the shed would still be just 9′ 8″ from the neighbor.
The site next to ours is unowned, but I had this vision of a new owner checking his boundaries and finding my shed in violation of the setback rules. I decided to move the shed in 4″. A further complication was that once the shed was moved 4 inches to the south, the corner tie-down point was too close to the curved edge of the paver bump-out. So I also shifted the location 6″ west. Having decided on these alterations to the original plan, I was hastily marking new corner targets while the shed was being unloaded from the trailer.
The next adventure was getting the shed dropped without crushing the water and sewer lines. It was a close shave, but the forklift driver – a woman – maneuvered with the skill of a surgeon.
I was fascinated by the installation of the hurricane tie-downs. These were 6 metal rods, with auger tips, that were drilled into the soil (after removing some pavers on the south edge) using a super-sized version of an electric drill. It obviously had tremendous torque. After the rods were in place, metal straps were screwed into the rods and attached to the underside of the shed. Supposedly these will keep the shed from flying off to Kansas in the next hurricane.
When I had first selected the site for the shed I had eyeballed the RV awning and was convinced that it would be able to fully deploy without touching the shed. But after shifting the shed 4 inches closer to the RV, I was no longer so confident. After getting the shed tied down, I apprehensively put the awning out. Gingerly, inch by inch. It finished deploying with about 3 inches to spare. And was above the top of the shed doors – a factor that I had not considered and feel damn lucky that it worked out.
Now we are awaiting arrival of the county building inspector, to give final approval before we can start using the shed.
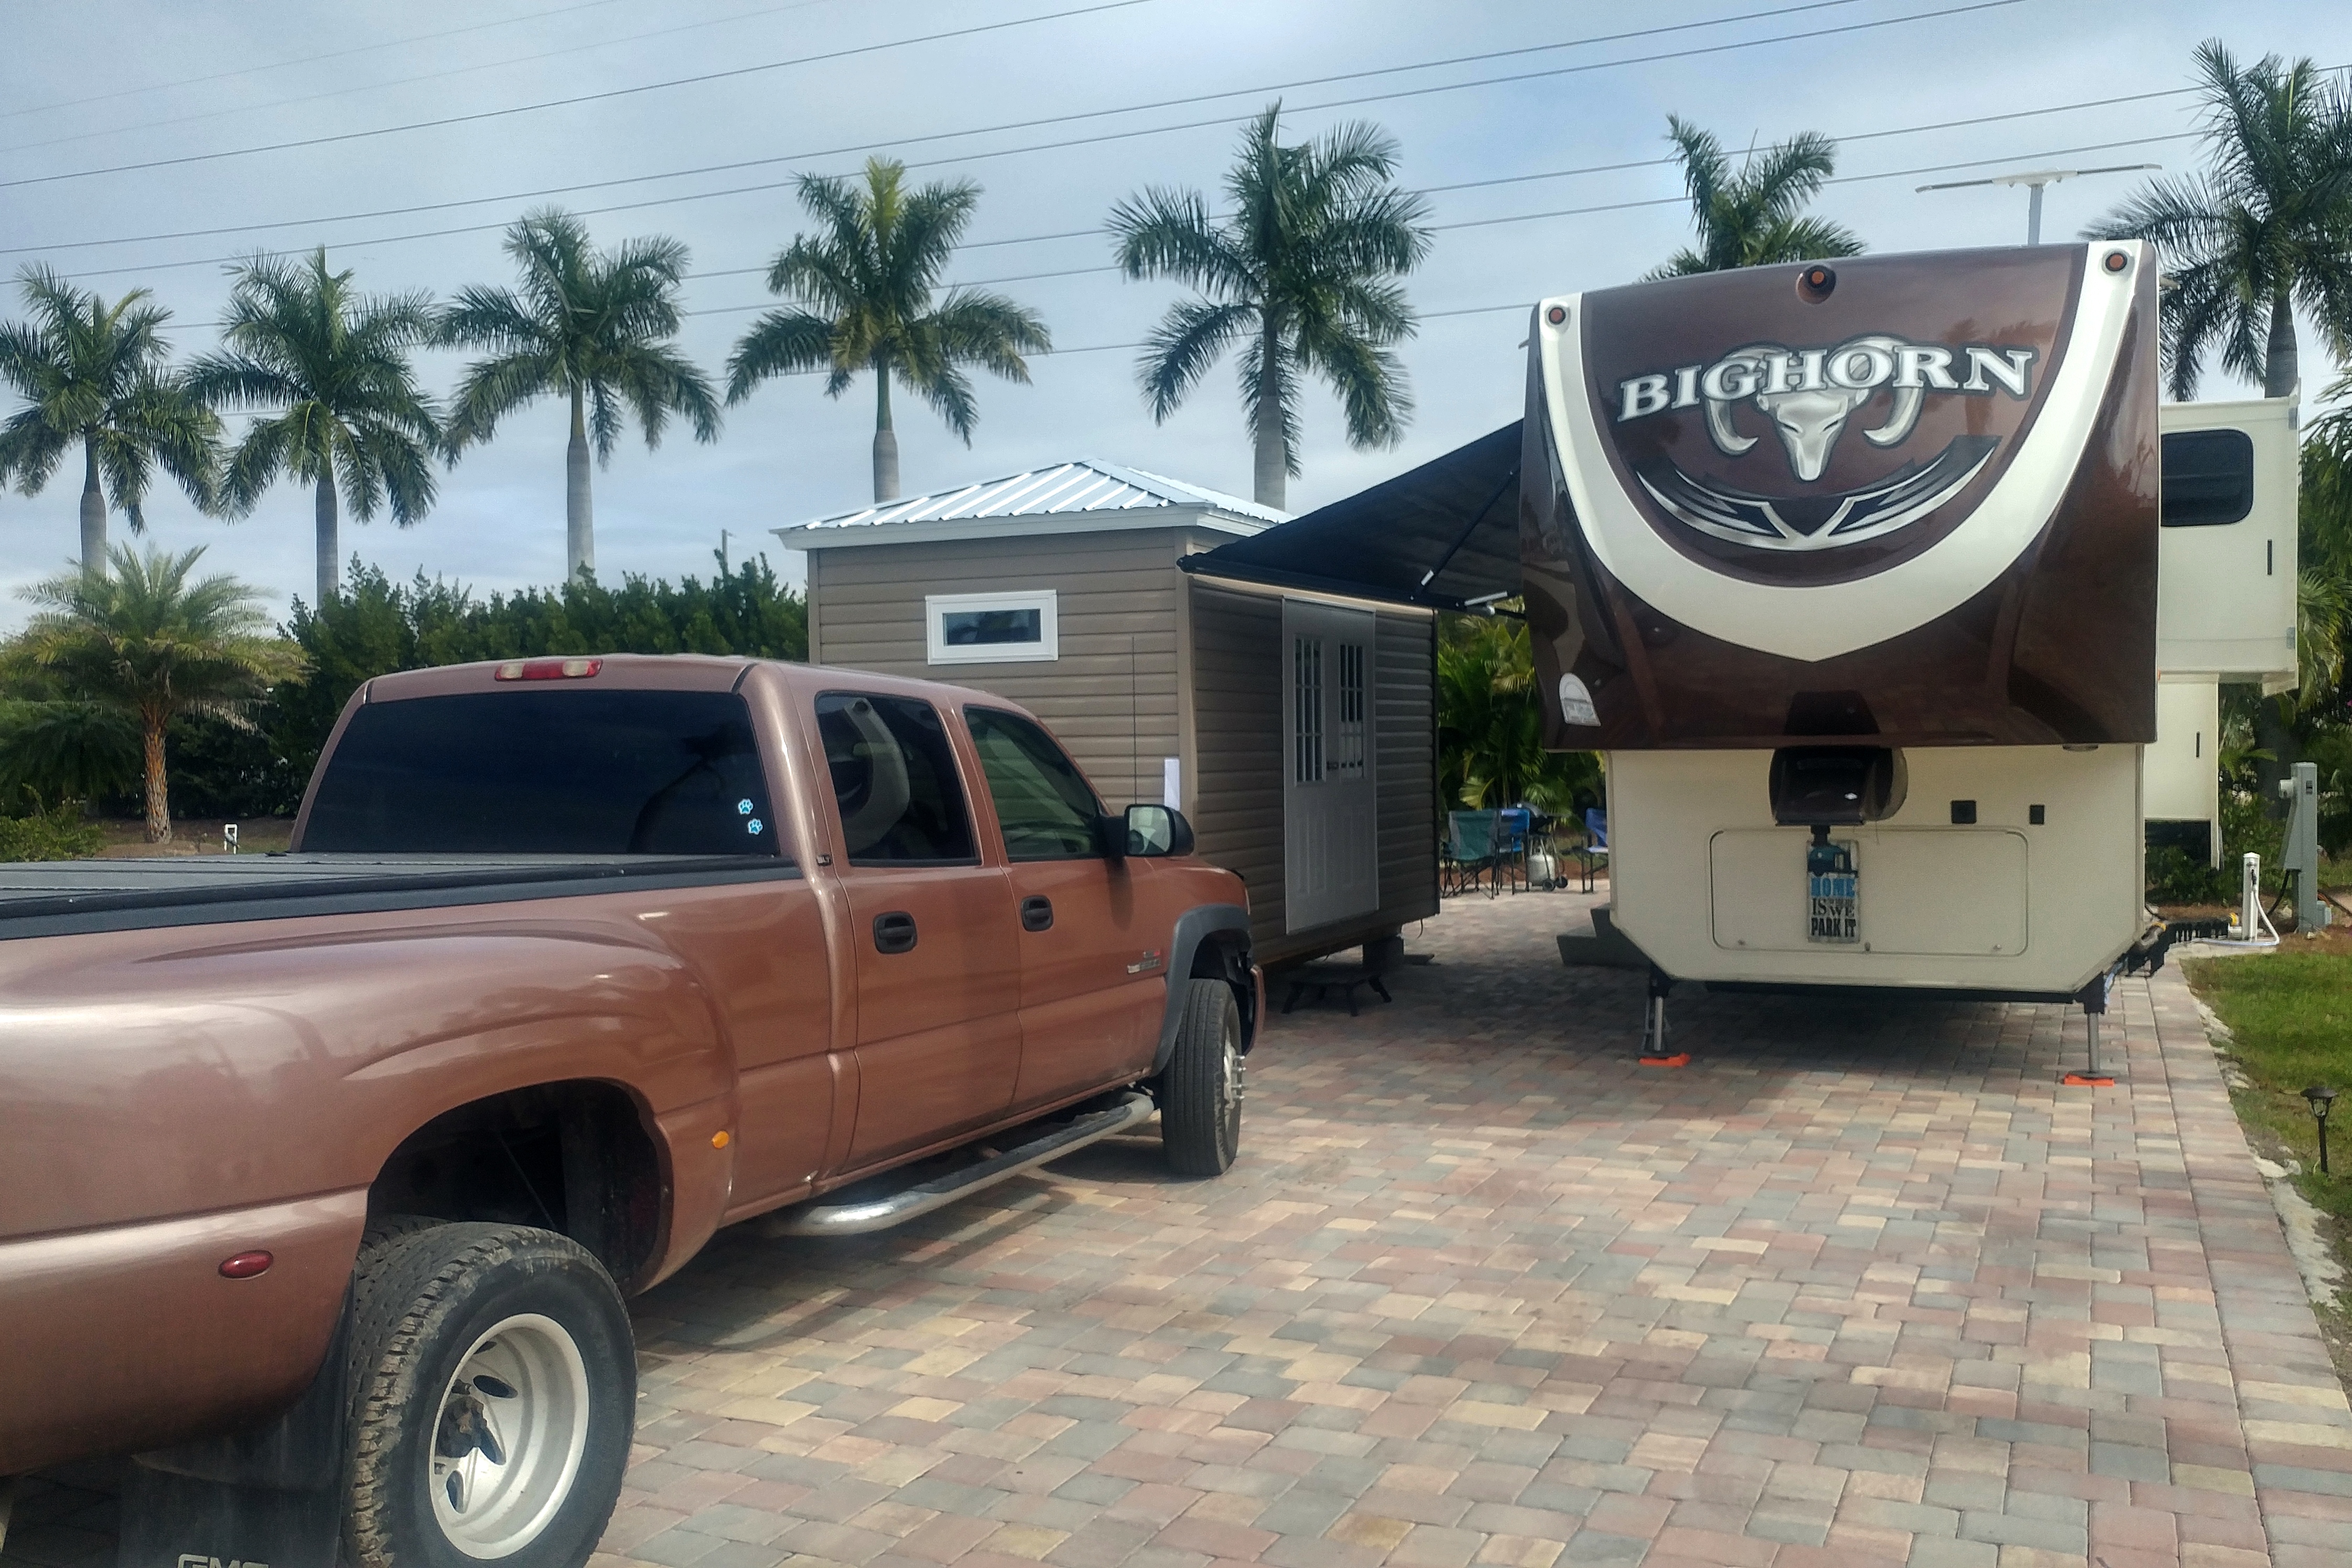
Awning deployed
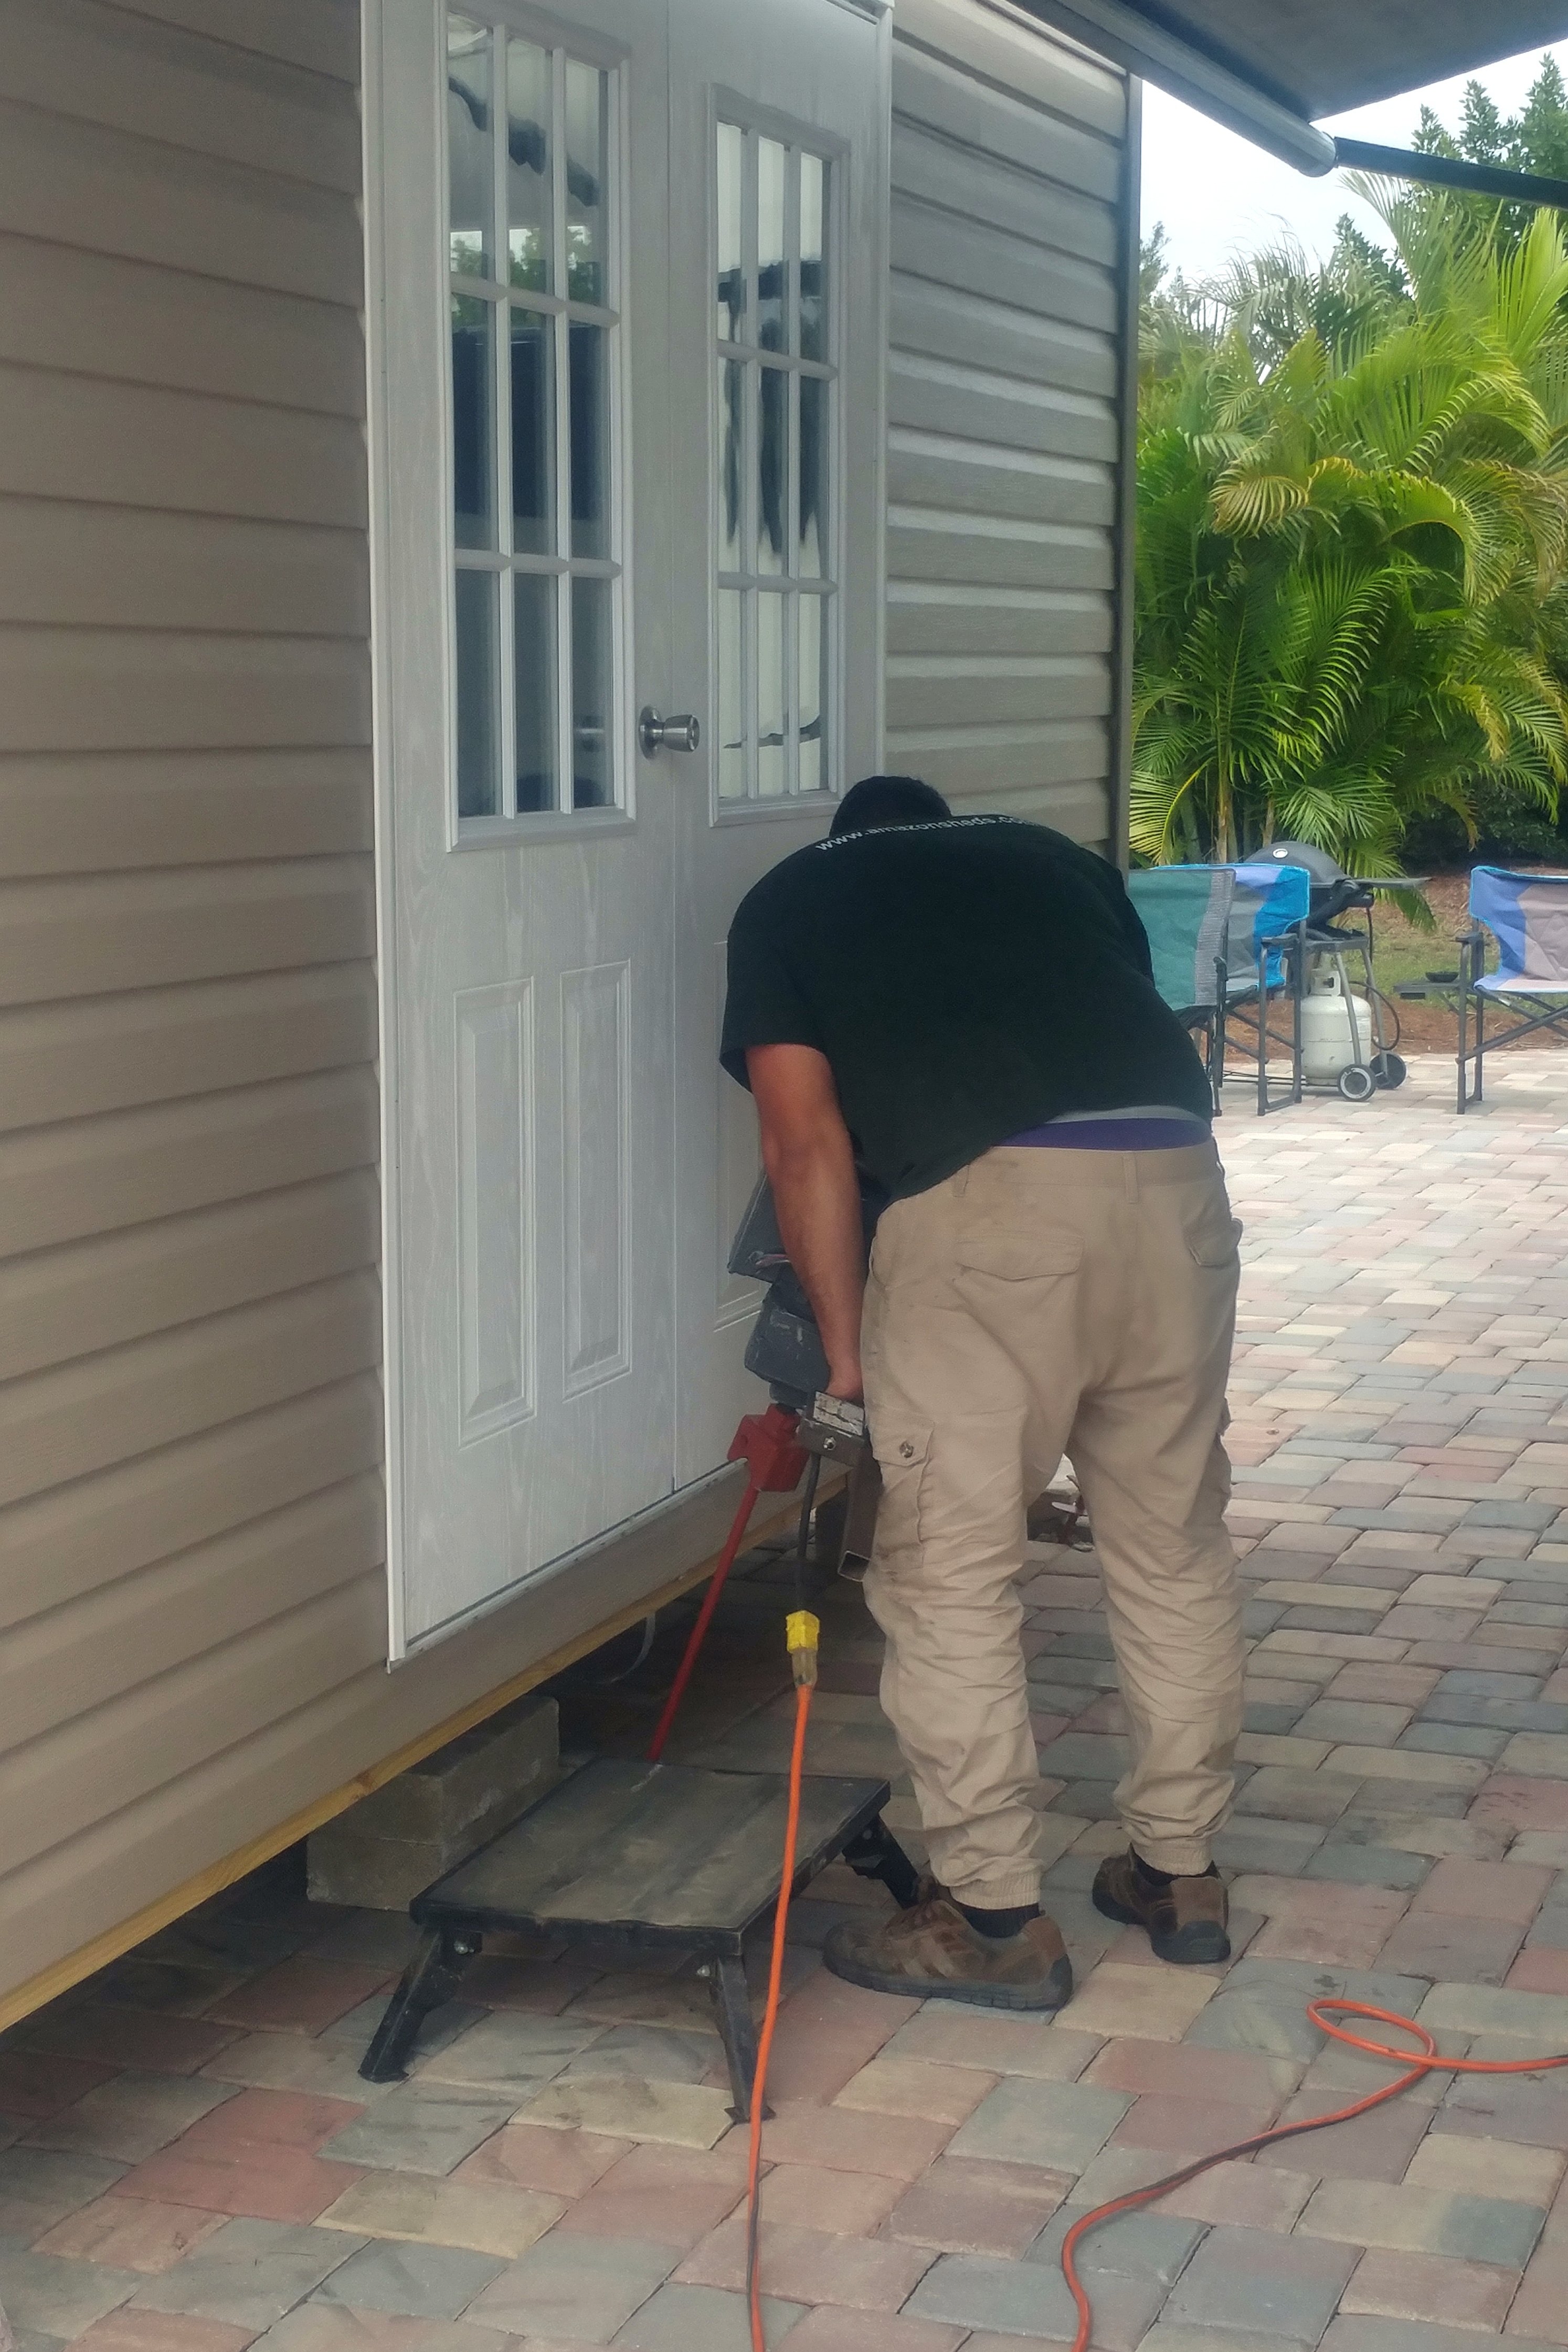
Installing the tie-down rods